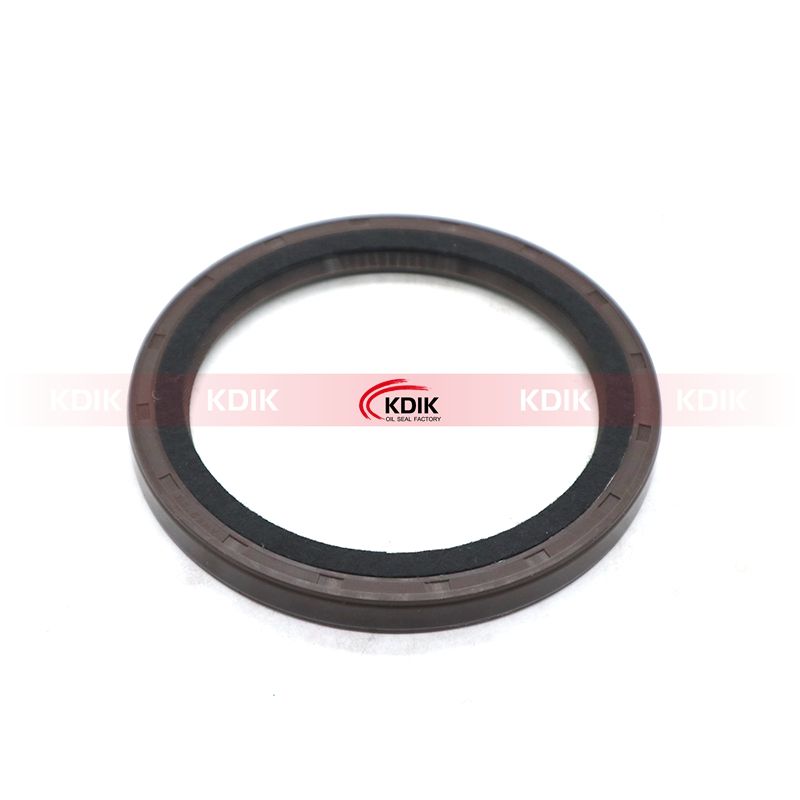
Top 10 Auto Oil Seal Maintenance Mistakes That Cause Engine Damage
When it comes to engine longevity, few components are as overlooked yet critical as the auto oil seal. A small failure here can lead to devastating engine damage, expensive repairs, and even complete engine failure. As specialists in automotive maintenance and engine performance, we have identified the top 10 oil seal maintenance mistakes that car owners and even some technicians often make. Avoiding these pitfalls is essential to preserving your engine’s health.
1. Ignoring Early Signs of Oil Leaks
One of the most common mistakes is ignoring minor oil leaks around the seals. Drivers often delay maintenance until the leak becomes obvious. By this point, the engine may have suffered internal damage due to inadequate lubrication or contamination.
Warning signs to watch for:
Dark spots under the vehicle
Burning oil smell
Low oil levels without visible spills
Pro tip: Inspect the engine bay monthly and after long drives for oil residue.
2. Using Low-Quality or Incorrect Oil Seals
Installing cheap aftermarket seals that don't meet OEM specifications can lead to early failure. Materials like substandard rubber or incompatible synthetics degrade faster under high heat and friction.
Ensure seals are:
Heat-resistant
Oil-resistant
Manufacturer-approved
Investing in high-quality seals can save you thousands in future repairs.
3. Improper Installation Techniques
Even the best oil seals can fail if not installed correctly. Common installation errors include misaligned placement, lack of proper lubrication, or damaging the seal during insertion.
Best practices for installation:
Clean and smooth sealing surfaces
Use seal installation tools
Apply a thin layer of oil for lubrication
Professional installation is recommended for rear main seals and camshaft seals, which are particularly difficult to replace.
4. Skipping Seal Inspection During Oil Changes
Many technicians overlook seal inspection during routine oil changes. This is a prime opportunity to catch early wear or cracking before it escalates.
What to inspect:
Crankshaft front seal
Rear main seal
Valve cover gaskets
Camshaft seals
Adding a seal inspection checklist to your oil change routine can detect issues long before symptoms appear.
5. Overfilling or Underfilling Engine Oil
Oil levels directly impact seal pressure. Overfilling causes excessive pressure, forcing oil past seals. Underfilling reduces internal lubrication, accelerating seal wear.
How to maintain optimal levels:
Use the dipstick to verify after every oil change
Follow manufacturer recommendations precisely
Check levels weekly or before long trips
Proper oil level maintenance helps preserve seal integrity over time.
6. Neglecting Crankcase Ventilation Systems
A clogged Positive Crankcase Ventilation (PCV) valve increases internal engine pressure, stressing the seals. This hidden culprit often leads to premature seal failure.
Symptoms of a failing PCV system:
Oil leaks despite healthy seals
Poor engine performance
Sludge buildup
Replace the PCV valve every 30,000–50,000 miles to maintain proper pressure balance.
7. Using the Wrong Type of Engine Oil
Not all oils are created equal. Using oil with incorrect viscosity or chemical additives can degrade oil seals over time.
Check for:
Compatibility with seal materials
Manufacturer's oil viscosity specs
Whether synthetic oil is approved for your engine
Using unapproved synthetic oils on older engines can lead to seal shrinkage or hardening.
8. Delaying Timing Belt or Chain Replacement
For engines where the timing belt or chain runs through oil-sealed areas, delaying their replacement increases the risk of seal damage. As belts age, they wobble and place uneven stress on adjacent seals.
Recommended replacement intervals:
Timing belt: every 60,000–100,000 miles
Timing chain: check after 120,000 miles
Failing to replace these parts on time often results in double failure: timing mechanism + seals.
9. Not Cleaning Surrounding Components During Repairs
When replacing oil seals, it’s crucial to clean surrounding engine components thoroughly. Leftover grime, oil sludge, or debris can compromise the new seal's ability to seat and seal properly.
Clean with:
Engine-safe degreasers
Microfiber cloths
Compressed air for fine dust
Contaminated surfaces are a leading cause of immediate post-repair leaks.
10. Ignoring Manufacturer Service Bulletins and Updates
Auto manufacturers often release Technical Service Bulletins (TSBs) regarding oil seal improvements or installation updates. Failing to follow these recommendations can result in repeated failures even after replacement.
Stay updated by:
Checking manufacturer websites
Using VIN-specific service software
Consulting certified mechanics
Always verify if there’s a redesigned seal or updated procedure before replacing any critical engine seal.
Conclusion: Preventative Care is Engine Protection
Avoiding these top 10 auto oil seal maintenance mistakes can significantly extend your engine’s life and prevent costly breakdowns. Regular inspections, proper oil usage, high-quality parts, and adherence to manufacturer guidelines are essential pillars of smart engine maintenance.
By maintaining your seals properly, you’re not just stopping leaks—you’re protecting the heart of your vehicle.
If you are interested in sending in a Guest Blogger Submission,welcome to write for us!


Comments
0